

What is HTML
Well HyperText Markup Language aka HTML is a language for creating web pages. When you are surfing through the internet and visiting dozens websites with your browser you actually don’t see that HTML-code, but the way how browser “translates” it for you. Every web page you come across on the internet contains HTML code. Each image, video and music file are brought to you with help of HTML. Let’s take a better look on HTML and from what it’s made.
For the sake of simplicity from henceforth and further I’ll be typing “html” abbreviation in lower case
First page
Les’s create our first html page !
I’ll be using Sublime Text 3 to create files and edit code.
If you haven’t downloaded it yet - you can do this on their website, there are installations for Windows, Linux and OS X.
But remember that you always can use editor which you wan’t to - this is totally okay !
Remember to save your html files with .html extension !
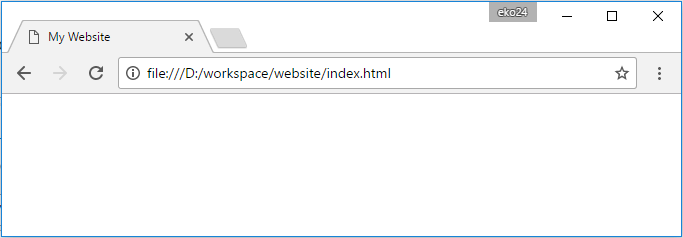
Than if we drag and drop our newly crafted html file into the browser we’ll see nothing but and empty page
And the other way you can do it - is by right-click on html file and open it with browser you prefer
Basic structure
Even the simplest html page have some requirements to its structure.
Long story short, let’s look at it:
<!DOCTYPE html>
<html>
  <head>
    <title></title>
  </head>
  <body>
  </body>
</html>
Right, so this is the very basic html structure. You might be surprised with all that weird brackets and words - no problem, let’s split them up !
The tags
First what we see is <!DOCTYPE html> - shortly, this how we describe the html that will be used in our page. You can get more info about it on this StackOverflow answer.
Then we see <html> tag, but please notice that we have same tag with slash in the end: </html>.
This is how most html tags works - they get “opened” <html> and closed </html>. We open them by putting in arrow brackets<like this> and close it to with arrow brackets but we add slash symbol: </like this>.
But keep in mind that html have some self closing tags, which we don’t have to close, I’ll tell you about them a bit later.
One more thing about html tags is that they can be nested, which means we can put tag in the tag in the tag in the tag…
You’ve got the idea.
So, everything what we’ll put between html tag is going to be processed with our browser.
And and this point we just got ourselves to our first nested tag - <head>.
Head tag it is just like <html> tag - not self closing, which means we have to close it on our own.
In html language <head> is responsible for many things like connecting style files and other code to our page and “talking” with browser.
And for now we only need the only one tag in head which is <title>.
On W3C page we can see that
The
<title>element defines a title in the browser toolbar
And this is 100% right. Whe we put some text in the <title> tag we see this text in the browser tab name.
Let’s add some name for our webpage.
Watch the changes
So I wan’t you to put some text in <title></title> tag, I’ll do it like this:
<title>My Website</title>
And then I’ll save changed I did by pressing hotkey Ctrl + S - which as you may know saves changes we did to file.
Now we can refresh browser page by hitting F5 in the browser, and look - we now have a name for our website !
Don’t forget to save changes you did before you refresh browser page
Headlines
Now, when we get familiar with editing html code let’s move next to the <body> tag.
Usually all text and tags you place inside body can be seen by you or other users, except some cases when we wan’t to excplitcly hide our content.
So let’s begin with headlines. Headlines are used to define and divide sections of your website, they appear as big or even huge text, just like these which you can see in this post.
There are six headline tags in html - <h1>...</h1> is the biggest, <h6>...</h6> is smallest, <h3>...</h3> and <h4>...</h4> are medium sized.
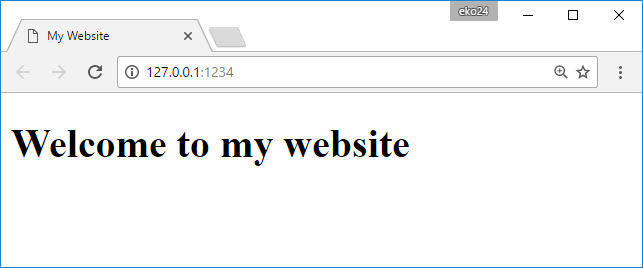
I’ll create huge headline with “Welcome to my website” text, so now my code looks like this:
<!DOCTYPE html>
<html>
  <head>
    <title>My Website</title>
  </head>
  <body>
    <h1>Welcome to my website</h1>
  </body>
</html>
And this is new look of my webpage
Feel free to play with different size of headlines and don’t forget to save changes before refreshing your page and don’t forget to </close> tags !
Text formatting
It’s time to get familiar with text formatting in html, you’ll learn how create bold, italic and strike through text.
Here is our heroes:
| bold text | <b>...</b> |
| italic text | <i>...</i> |
| strike through | <s>...</s> |
Let’s add this tags into the body with some text, we’ll see them on the page.
From now I’ll be using another presentation mode, so you have to click “Result” to see, ehm, result.
You see that text have different styles, but as you might notice - in html we wrote each tag on new line, but in the browser they are all on the same line, not okay !
The reason this happens is because browser ignores our line breaks, but don’t worry, html have appropriate solution for this:
Our day saver is <br/> tag which stands for “break line”, and the other curious thing about it - <br/> is self closing tag.
I guess it is better just show you how it works:
Much better isn’t it ?
Well one thing I wan’t to clarify about self closing tags - is we actually “close” them but in another way. All we do is just adding slash symbol before right-looking arrow bracket, like <this/>
Try to place <br/> in different places in the body so you can get familiar with it:
Text coloring
Now when we know how to create html page, add some styling to our text, and write headlines of all sizes let’s play with texts color !
For this purpose we have tag called <font>...<font> which fortunately have comprehensive name.
But nothing will happen if you’ll just wrap your text with font tag:
<font>You come to me, and you say: "Don Fonteone, color my text." But you don't ask with respect</font>
Right, we need to tell that we want colored text and specify the color we want.
In html this kind of things are possible with… attributes !
As you can see we use color attribute <font color="red">This is much better</font> for the font tag.
Attributes are placed in the opening tag, we don’t write them in the closing tag and certainly don’t close attributes, keep that in mind.
Attributes, themselves, have really simple structure they have name="and value", nothing complex.
Oh, remember that tags can be nested ? Oh hell yeah they can !
But of course red color isn’t the only one you can use, you might type green, blue, purple - any color you want to.
And here is link to the list of color names on W3C school website try some of them !
Links
Let’s try something more interesting than just coloring text. Every webpage have links, which brings you to other website in the internet, so let’s add some !
Link could be created this way:
<a href="http://google.com">I'll take you to the</a>
Link have required href attribute which tells where it leads, and between <a>...</a> tags you write text which be displayed as link, like this:
Also if you create another html file e.g. second-page.html near your index.html file
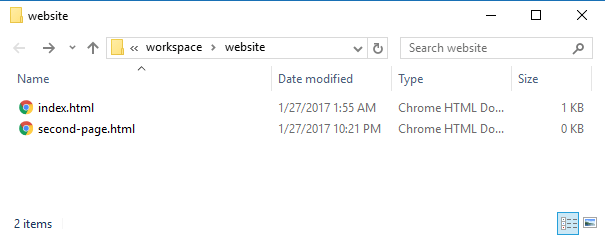
This way you can create link to second-page.html :
<a href="./second-page.html">Link to second page</a>
Conclusion
Phew, this was a long ride, but you did it !
At this point you now how to create formatted text, insert links, get text colored and use huge headlines.
There’s more to come - in my further posts I’ll show you some other tags, techniques and Sublime Text 3 features.
Stay tuned and thank you !